Photography Education
Stop Using Pinterest as Your Shot List
Cory Williams (Photographer/Founder)
Published
Pinterest is great for finding inspiration, but it's a poor substitute for a real shot list. Here's how we changed our workflow using Set A Light 3D to plan editorial shoots, recreate lighting setups, and spend more time creating instead of troubleshooting.

Pinterest Isn't a Shot List
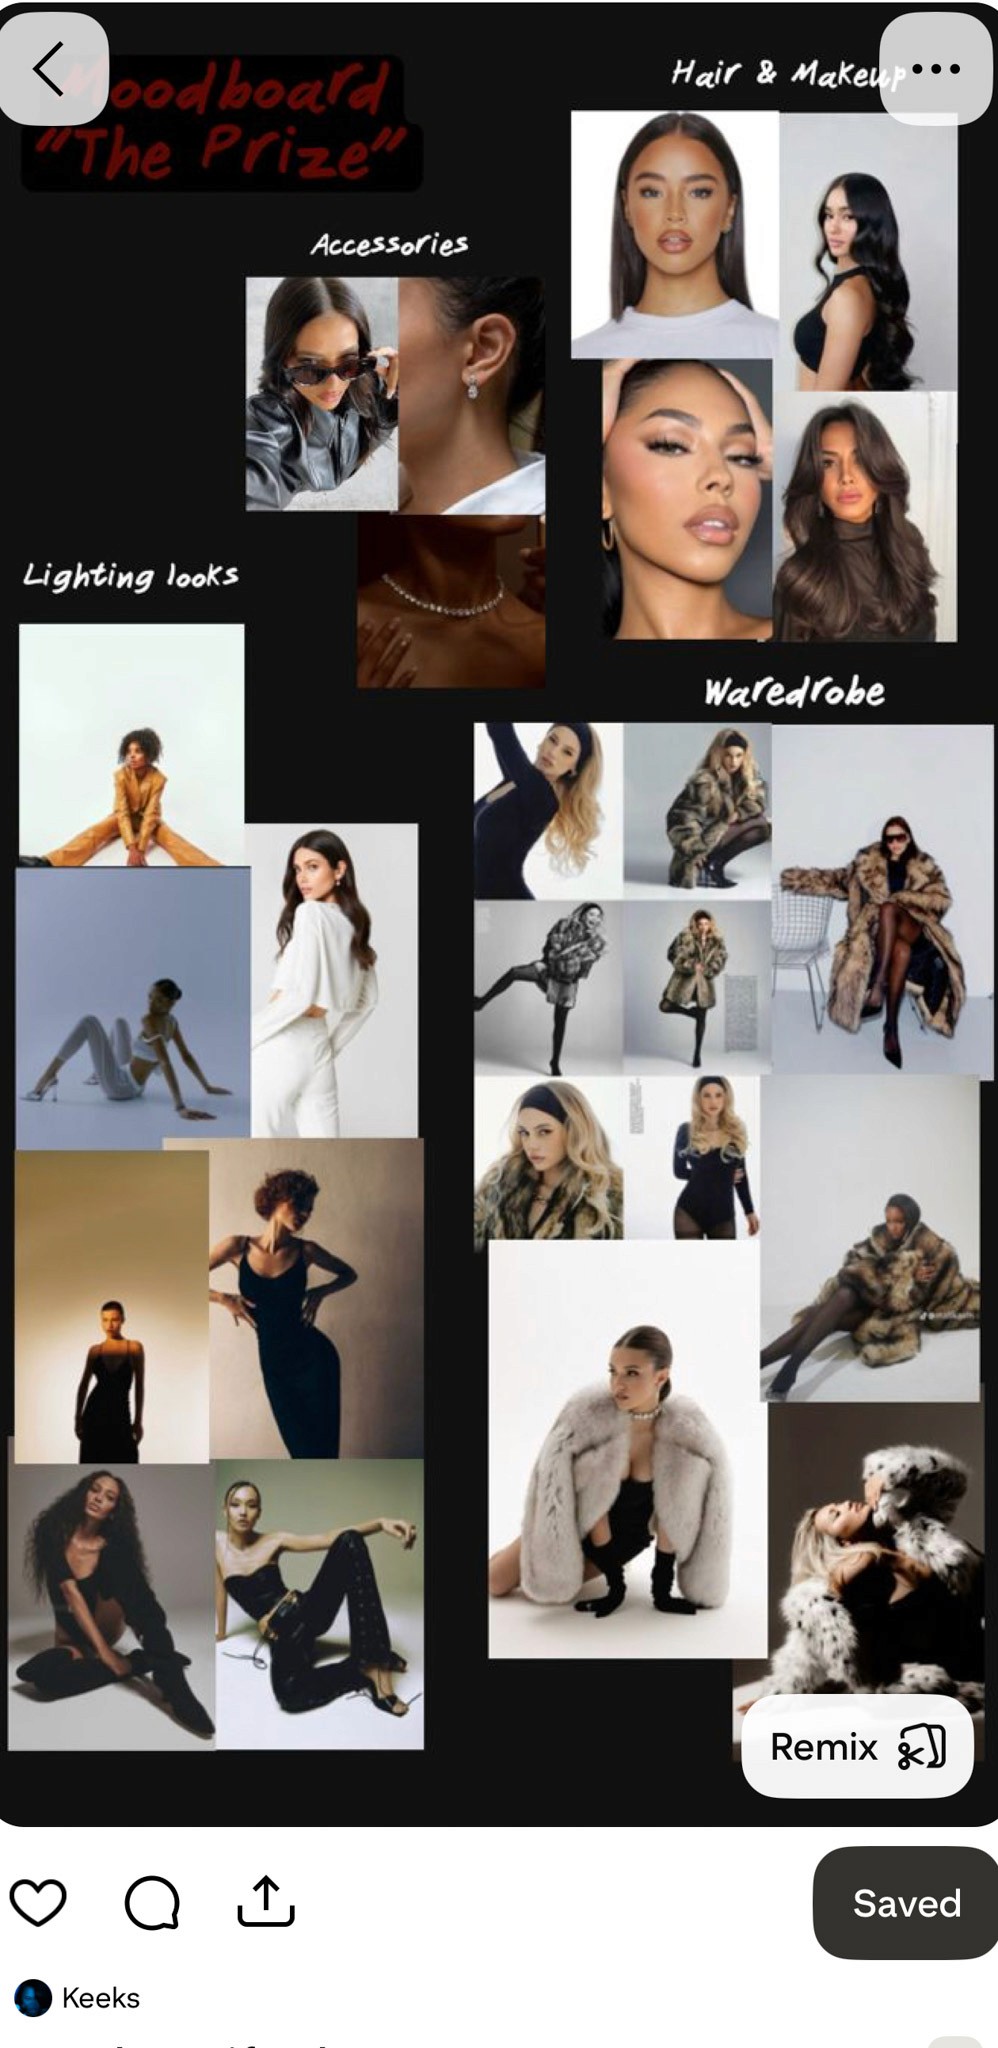
One of the biggest mistakes we've made over the years is treating a Pinterest board like a shot list.
Don't get me wrong we still use Pinterest for inspiration. It's a great place to collect ideas, discover posing concepts, and build mood boards with clients or models. But inspiration and execution are two completely different things.
More times than I'd like to admit, we've walked into a shoot with nothing more than a Pinterest board. While it can work in a pinch, it's honestly not the most organized way to prepare. We found ourselves scrolling through saved images, trying to remember which lighting setup matched which pose, or spending too much time recreating something we had only saved as a reference.
Eventually, we realized Pinterest wasn't slowing down our creativity, it was slowing down our workflow.
Finding a Better Workflow
So we started looking for a better way to build a shot list that we could actually recreate.
That's when we found Set A Light 3D.
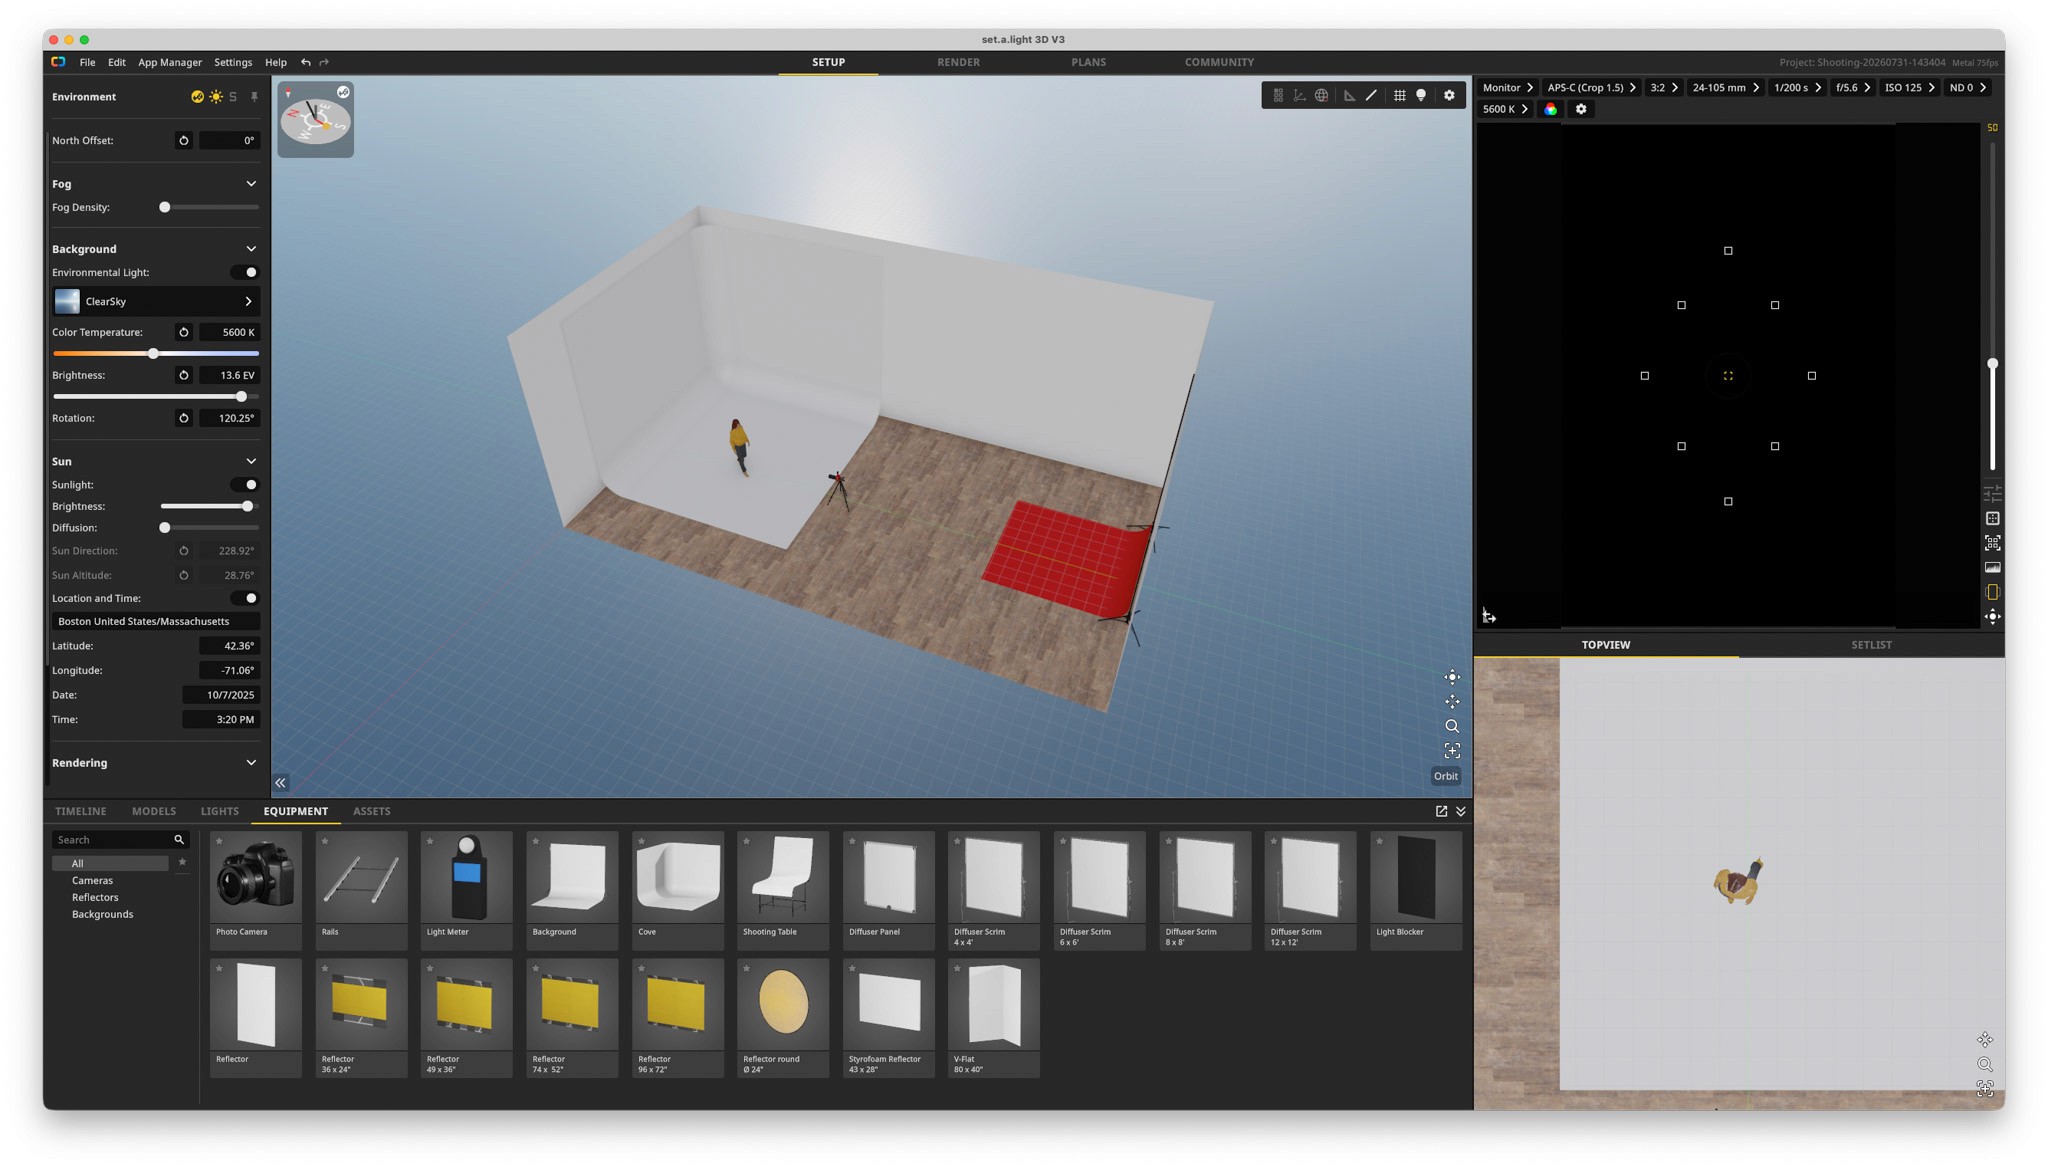
Instead of simply saving inspiration, we can now recreate our studio, experiment with lighting, and plan an entire shoot before anyone even walks through the door. We entered the exact dimensions of our studio and cyc wall, added the lighting equipment we actually own, and began building lighting setups virtually. By the time shoot day arrives, we've already solved most of the technical problems.
Putting It to the Test
Recently, a New York modeling agency reached out about photographing one of their new Boston models, and it became the perfect opportunity to put this workflow into practice.
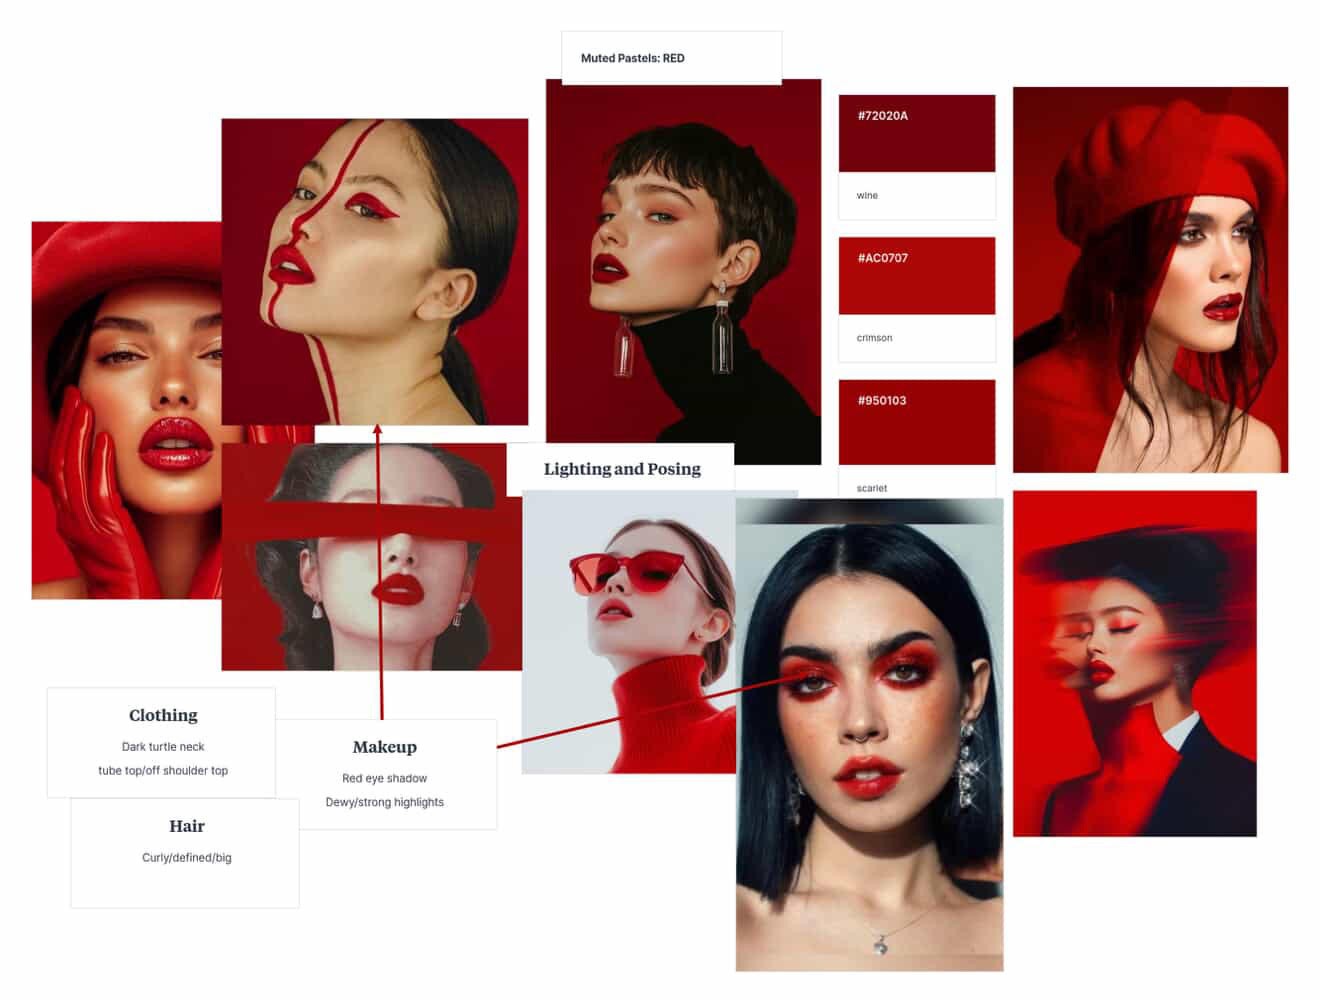
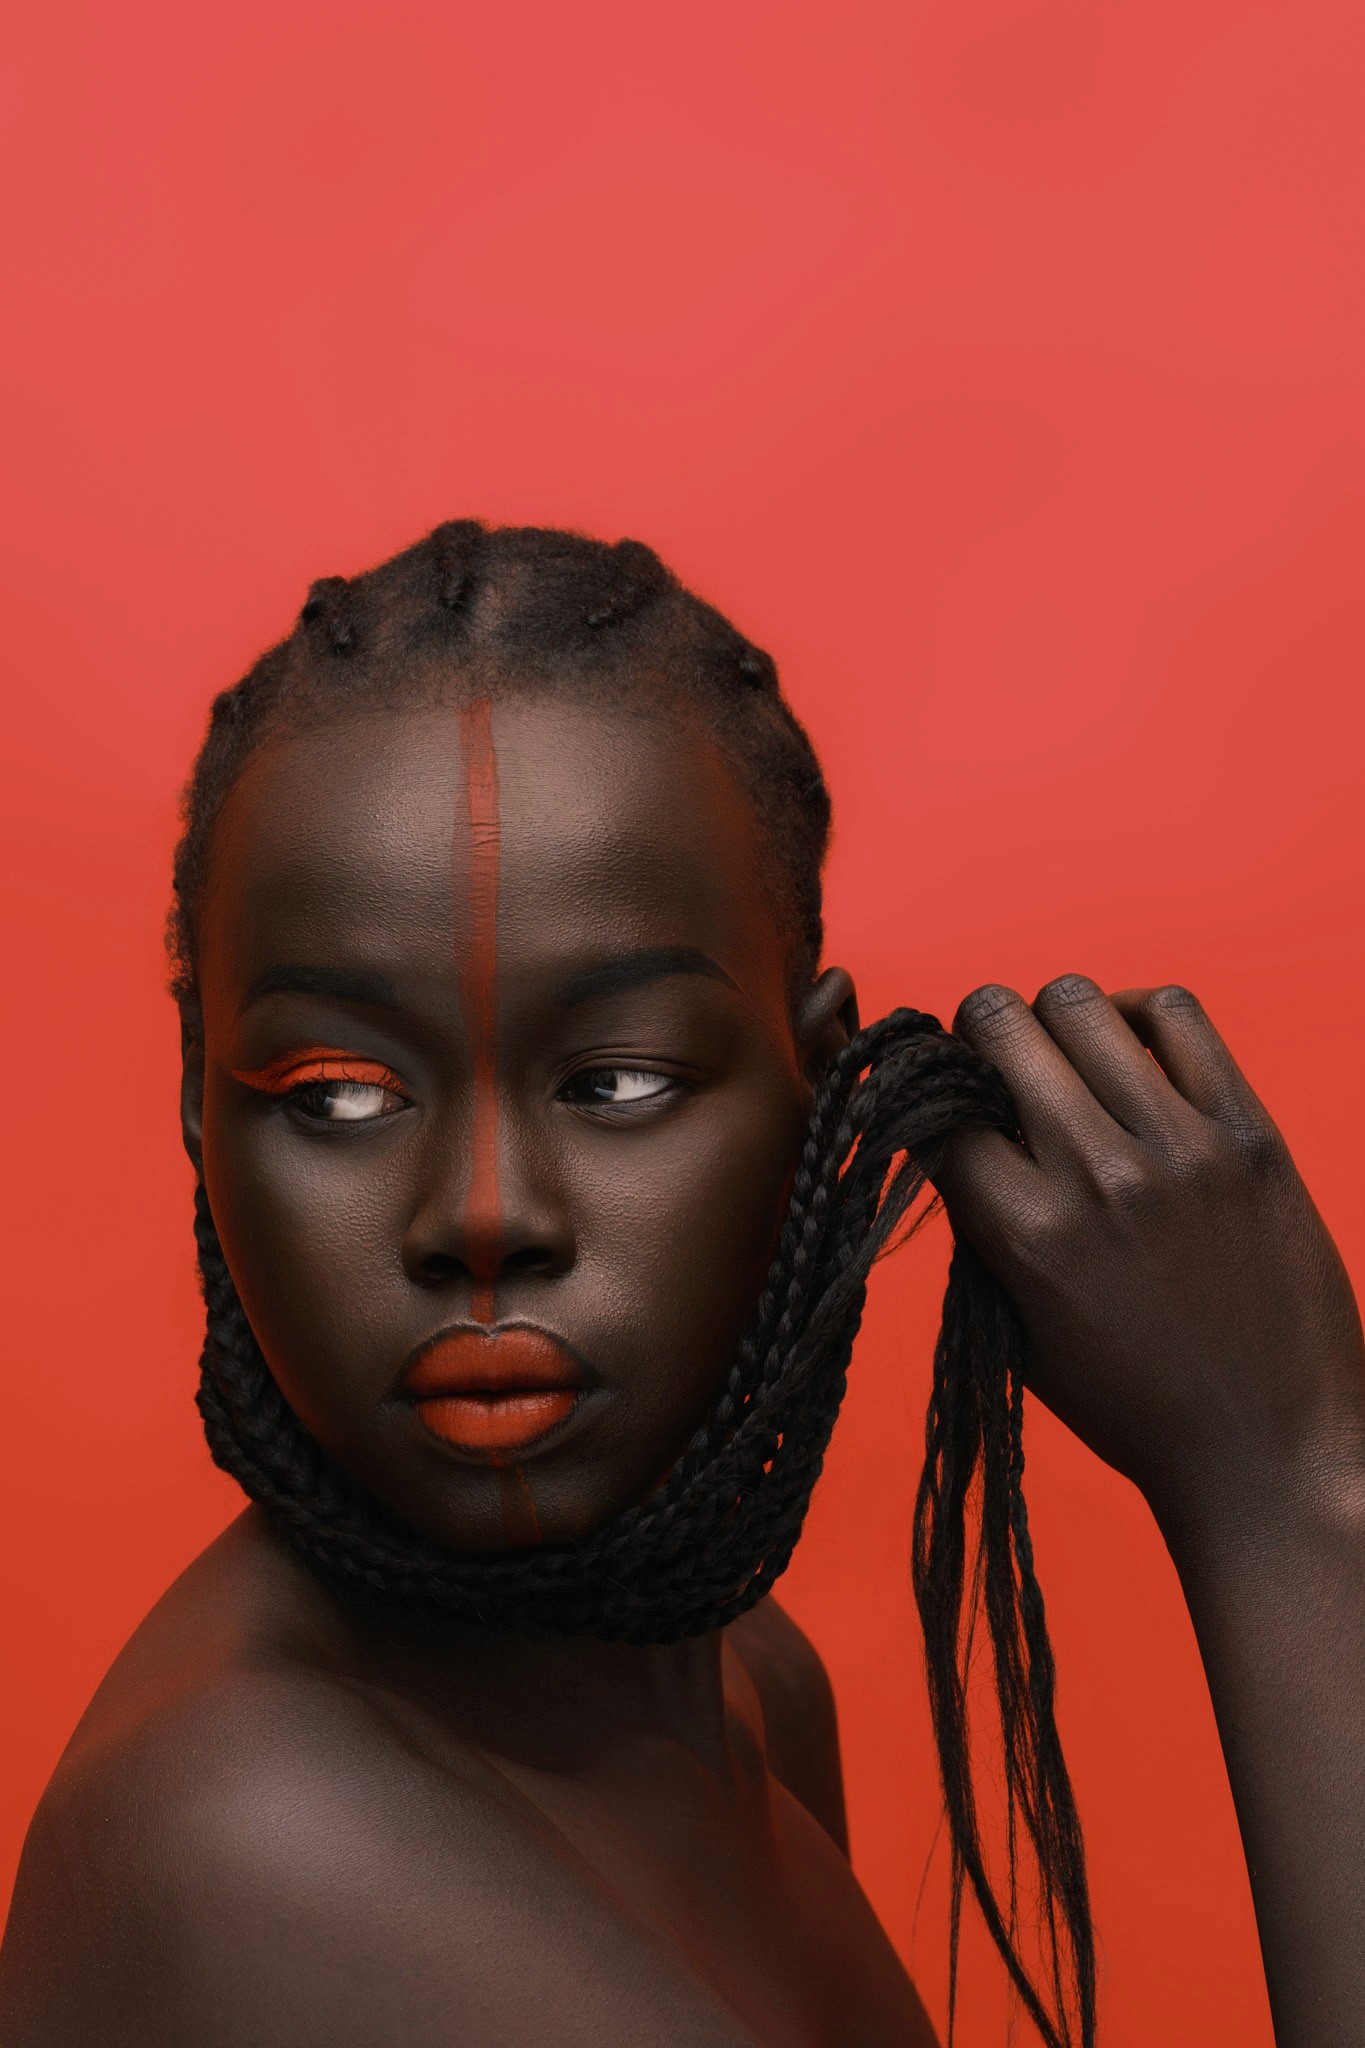
Kiara had already created the mood board. We wanted a clean editorial look centered around a rich red seamless backdrop. The model's complexion worked perfectly with the makeup direction and bold color palette we had in mind.
Building the Lighting Before the Shoot
Once the creative direction was established, it was my turn to figure out how we were actually going to light it.
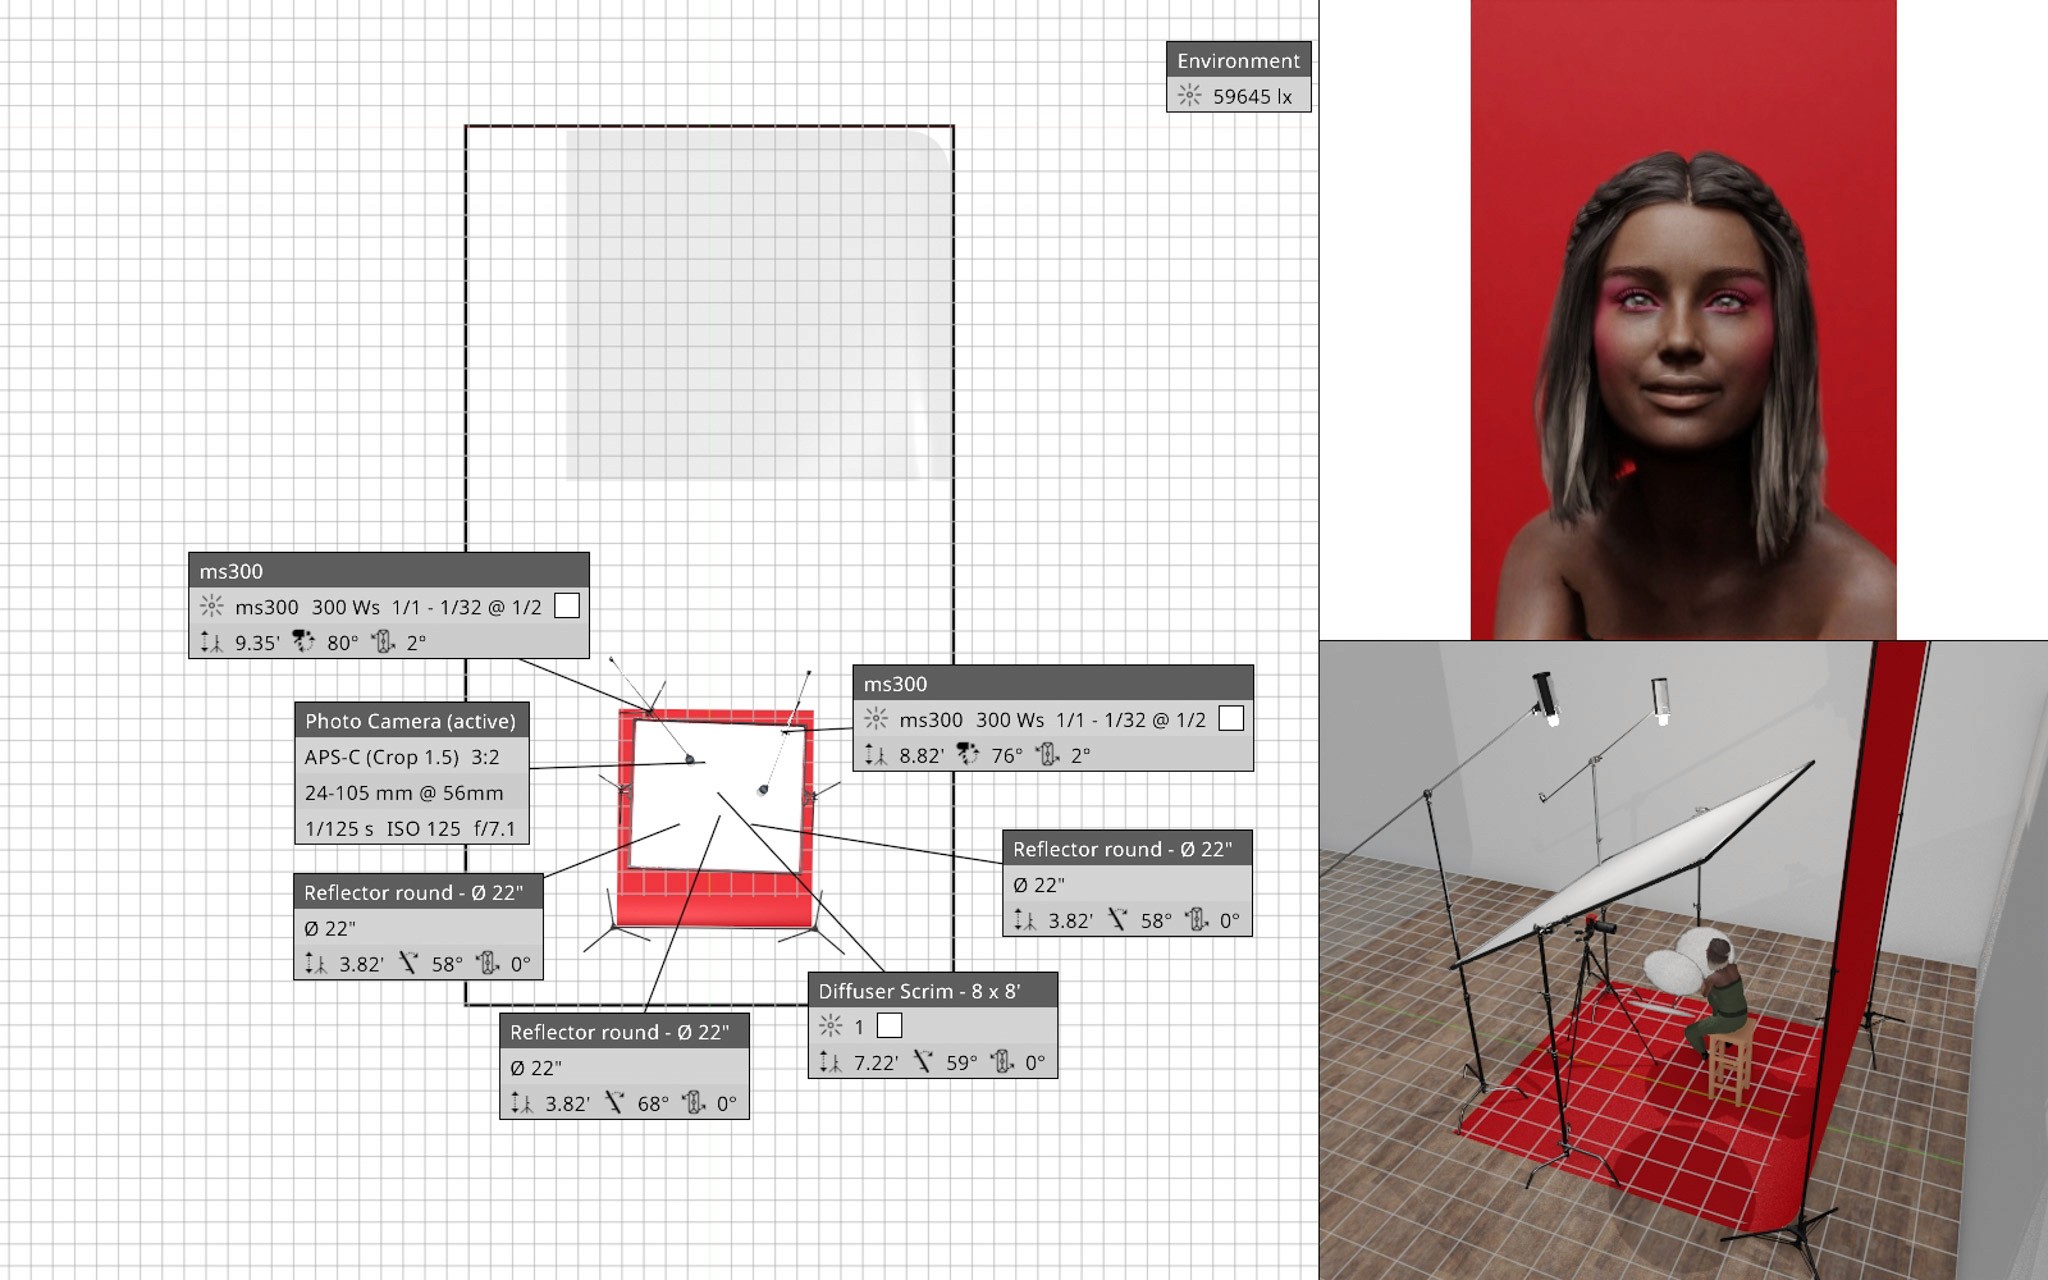
I knew I wanted soft, even, almost flat lighting. The goal wasn't dramatic shadows or high contrast. I wanted the red backdrop to stay rich while allowing the model's skin tones to remain the focus of the image.
To make that happen, I opened Set A Light and started building the lighting setup.
One of my favorite pieces of equipment in our studio is our 8×8 scrim. Large scrims like this usually cost well over $700, but we decided to build our own for around $150. About $90 of that went toward professional one stop diffusion fabric, while the rest came from PVC pipe at Home Depot and a handful of canopy ties.
It has easily become one of the best investments we've made.
The best part is that Set A Light actually includes an 8×8 scrim in its equipment library, so I was able to simulate almost exactly what we would be shooting.
To light the scrim, I used two Godox MS300 strobes with no modifiers attached. Instead of shooting directly at the model, both lights are aimed into the diffusion fabric. Because the scrim is so large, the entire 8×8 surface becomes one giant soft light source, producing incredibly even, flattering light with smooth transitions and very little harsh shadow.
Seeing the lighting come together virtually before the shoot gave me confidence that we were heading in the right direction, and it meant less experimenting once the model arrived.
Choosing the Right Camera Settings
After the lighting was finished, I moved on to camera settings.
I'm a Fujifilm shooter through and through. One of the biggest reasons is the color science. I've always loved how Fujifilm renders reds and greens, but what keeps me coming back is how naturally it reproduces skin tones across a wide variety of complexions.
For this shoot, I used my Fujifilm XF 56mm f/1.2, which gives a field of view similar to an 85mm portrait lens on full frame. Although it's known for its beautiful shallow depth of field, that wasn't the look I wanted here.
Instead, I stopped the lens down to f/7.1 to keep the face consistently sharp across the frame. My shutter speed was set to 1/125 second, and my ISO remained at 125.
Once everything was dialed in, the final result inside Set A Light looked almost identical to what I had envisioned.
Planning Saves Time on Set
I don't usually need to reference my lighting diagrams during the shoot, but I almost always print them beforehand. The process of building and documenting the setup forces me to organize my thoughts, confirm that I have all the equipment I need, and make sure I'm walking into the studio with a plan instead of figuring everything out on the fly.
It's also incredibly helpful when we know we'll be shooting on multiple backgrounds, like both our white cyc wall and colored seamless paper. Because the lighting has already been planned, transitioning between setups becomes much faster.
Our Takeaway
Pinterest will always be one of our favorite tools for gathering inspiration, but it stopped being our shot list a long time ago.
The more organized our planning becomes, the more time we get to spend doing what matters most—creating.